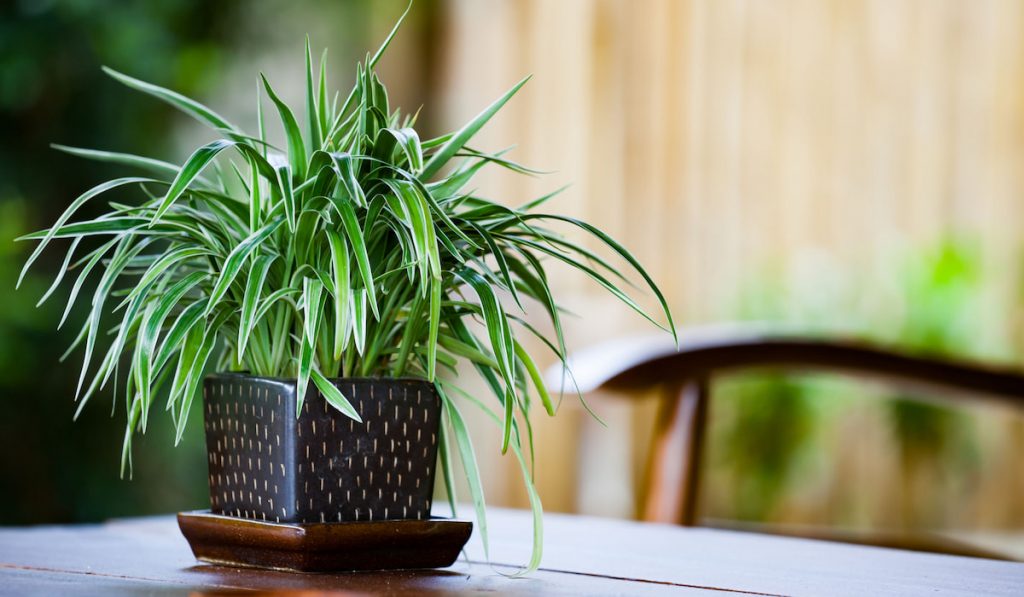
A native of South Africa’s coastal regions, spider plants are often regarded as easy to grow and care for. Thanks to their tuberous roots, spider plants can thrive under different levels of moisture.
The tuberous roots of the spider plant facilitate water storage. As a result, you do not need to water it regularly. Even with irregular watering, these roots tend to grow rather quickly.
Sometimes, it gets to a point where the roots begin to crack the pot open. At this point, the plant should be repotted.
Some gardeners make the mistake of repotting spider plants too quickly or into containers that are too large. Planting in overly large pots may not work quite as well since spider plants prefer tight spaces.
So, how should a spider plant be repotted, you ask? Well, in this post, we go over several tips that help with the process. Also, if you are unsure of repotting your spider plant, we give reasons why you should.
How to Repot a Spider Plant
Repotting your spider plant can be a bit tricky. But with the following tips, things should turn out fine.

Check if the Roots are Big Enough for Repotting
Before you repot your spider plant, you need to determine if the plant’s roots are prepared for this change.
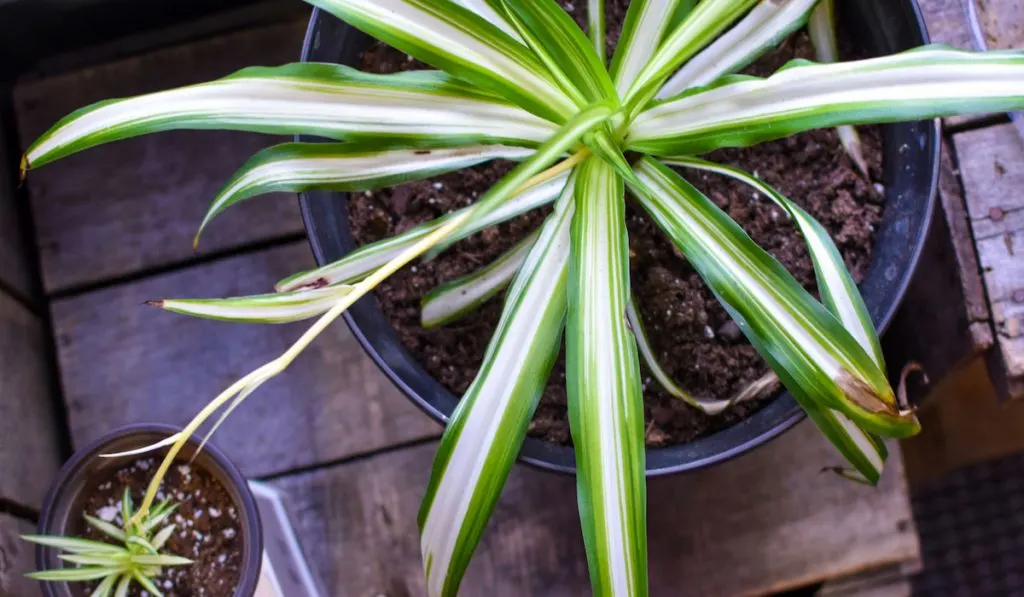
When the roots are ready, you may notice the plant root circling the bottom of the pot. In this position, they will keep most or all of the soil together.
Another way to know if the roots are ready for repotting is to check the underneath the pot. For a pot with drainage holes, the plant’s roots will start growing out of the holes.
This indicates the spider plant has run out of space to grow in the pot and is seeking more room to grow.
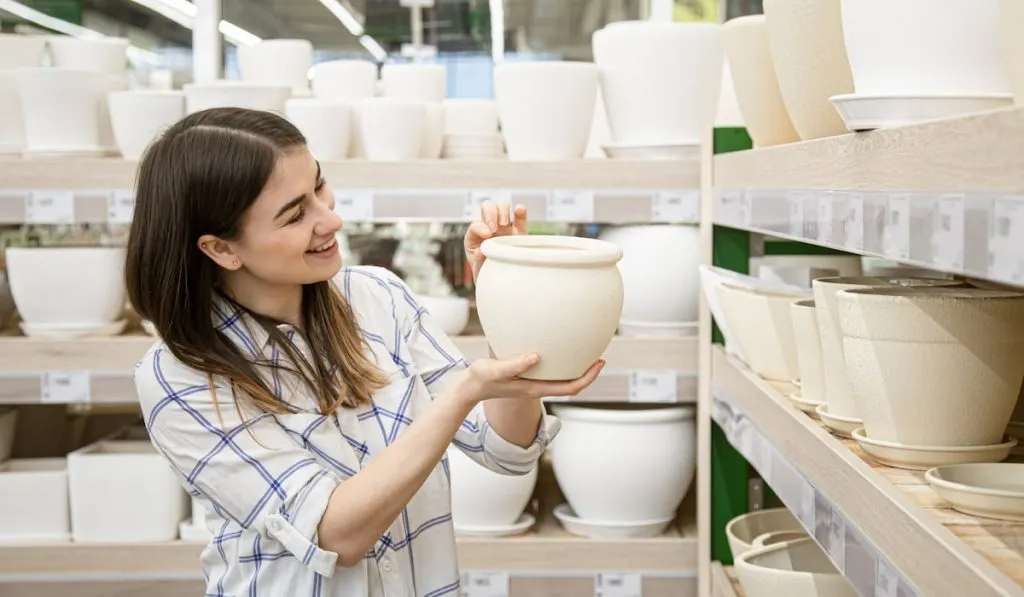
What Kind of New Pot to Look for
We know spider plants prefer to be root-bound. So, getting a new pot for them should not be too hard.
When you want to repot a spider plant, you should get a pot slightly bigger than its current pot. Getting anything excessively bigger is not necessary. This holds because spider plants do better in pots where they take over the soil space with their roots.

Spider plants grow faster when planted in a confined space. If you own only bigger pots, this is also fine. But to ensure your plant grows quickly, you will have to fertilize it.
Pots made from clay tend to wick water from the soil. This makes them an unfit choice for growing spider plants.
The tuberous roots of the spider plant grow large and can break fragile pots. This means using a clay pot could end up being a disaster in the long run.
Heavy plastic pots are recommended because they can retain moisture better and are more flexible. However, the style of the pot you get is up to you. However, getting a pot with drainage holes makes things easier.
The essence of the drainage holes is to ensure excess water leaves the pot. This reduces the risk of root rot.
Using a pot with drainage holes is not compulsory. If you already own a beautiful pot you wish to use for the spider plant, go right ahead. One thing you will have to keep in mind, though, is not to overwater your spider plant.
Type of Potting Mix
Ensure you use a suitable planting mix or potting soil. Avoid using garden soil to prevent bringing outdoor pests and diseases indoors. Luckily, spider plants can grow in several well-drained soils.


You can also use general-purpose potting soil. But only if the fertilizer does not contain excessive amounts of fluoride. Fluoride is a mineral that can cause severe damage to plant tissues.
Media comprised of 50% peat, foam beads, perlite, and pine bark are ideal because they can hold water and provide proper aeration.
Ensure the soil at the bottom of the new pot is deep enough for the plant roots to grow downward. Once you have filled the pot with new potting soil, gently tamp it down. This ensures the soil settles in properly.
Try to situate the plant at the same level of soil as the original pot. Doing this keeps you from burying the plant too deeply in the new pot.
Preparing for Transplant
The best time for repotting your spider plant is spring through summer. You have to wait until the days start getting longer and the temperature is warm. If you live in a temperate region, you may also repot at the start of fall.
Ease the spider plant out of the pot gently. You can tap the pot on the sides if required. If the plant will not budge, water lightly and allow the soil to become moist and loose before you try again.
Once the plant has been successfully removed, check the plant’s roots for any insect or damages. If possible, shake off the soil from the roots and perform a thorough examination.
If you notice any soft or dark areas, they indicate rot or diseases. Cut off the damaged roots and remove about ½ inch of healthy root tissue on either side of the damaged areas before you repot.
Placement and Care
The following is a summary of the best placement and care for a repotted spider plant:
- Place your spider plant in the pot high enough for you to fill it with a medium that covers the roots adequately.
- Ensure the repotted plant is watered well enough with water. Doing this allows the medium to settle.
- If the growing medium is not adequate, you can always add more.
- Fertilize the plant with a high-quality liquid fertilizer to help the plant over any transplant shock.

9 Reasons for Repotting a Spider Plant
Here are some reasons why your spider plant may need to be repotted:
- Spider plants need to be repotted if you notice their roots sprouting out of the drainage holes underneath the planter.
- You can repot your spider plant if you notice its growth is stunted and you are looking to revitalize it.
- Leaves turning yellow often means there is an excess of minerals or fertilizer in the soil. You may need to repot the spider plant in more neutral soil.
- Another indication that your spider plant may need repotting is if the root ball rises above the pot’s rim.
- If you notice your spider plant looking limp, pale, or wilting, you should repot it.
- If the soil condition has become dry and broken down, you may need to repot your plant.
- If your spider plant no longer absorbs water, repotting it may solve this problem.
- If your plant starts feeling top-heavy and begins to fall easily, it needs to be repotted.
- If your plant dries out too quickly and requires frequent watering, you may need to repot it.
Final Take
Spider plants are one of the fastest-growing houseplants. True to their rapid growing ability, they typically outgrow their pots after a while.
Their roots overflow as it tries to find extra space to grow in. Then sometimes, the roots may even crack their pot. Hence, the need for yearly repotting of spider plants.
Resources
- https://www.gardeningknowhow.com/houseplants/spider-plant/repotting-spider-plants.htm
- https://homeguides.sfgate.com/rules-repotting-spider-plants-39882.html
- https://plantcareforbeginners.com/articles/everything-about-repotting-spider-plant
- http://randysnursery.com/even-houseplants-bust-out-at-the-seams-sometimes/
- https://www.indoorplantsforbeginners.com/how-do-you-know-when-a-plant-needs-a-bigger-pot/